How to Install PostGIS
Contents:
Introduction
PostgreSQL is one of the most popular open source object relational database. When it comes to GIS data, PostgreSQL makes use of the powerful GIS extension called PostGIS.
Here in this topic, we will going to see a step by step installation of PostgreSQL database and PostGIS extension on windows environment.
PostgreSQL Database Installation
Since PostGIS works on top of PostgreSQL, we need to install PostgreSQL database before installing PostGIS.
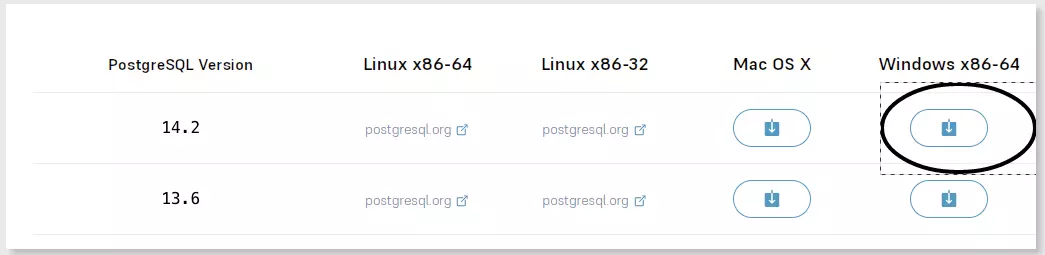
To download PostgreSQL database software, go to this PostgreSQL official website and click the windows installer of version 14.2 as shown in the figure below and then click Ok prompt to download.
Then go to your download folder to find the installation file and right click on the Installer file and click “Run as administrator” for smooth installation without permission problems as shown below:

In the windows that opens click Next and follow the instructions in the installation wizard as shown below:

And choose the installation folder of your database:

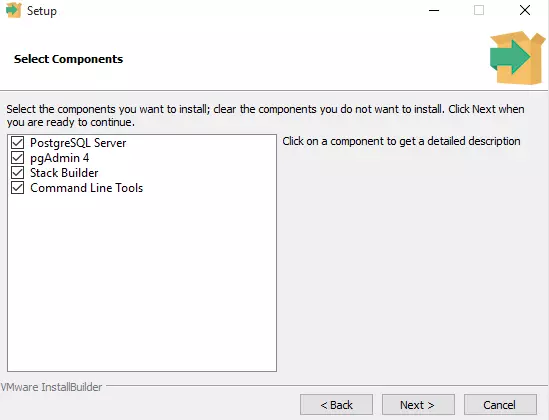
In the window that follows make sure all components are selected and click Next:
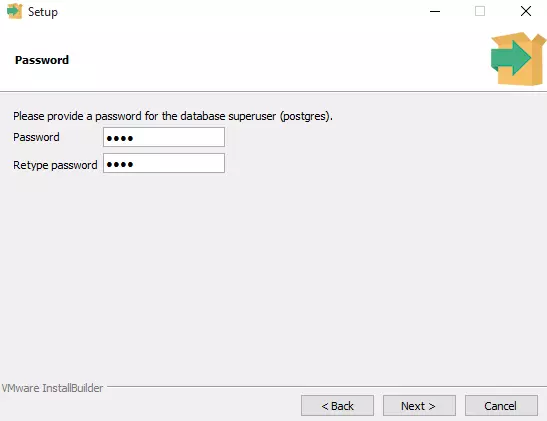
Then type your database password when prompted:
Click Next until installation is completed and click Finish you see a message of success:

PostGIS Installation
Once you install PostgreSQL, a windows for Stack Builder will pop up. Stack Builder is used to install PostgreSQL extensions.
To install PostGIS follow these steps:
In the Stack Builder window, select the PostgreSQL instance we just installed and click Next.

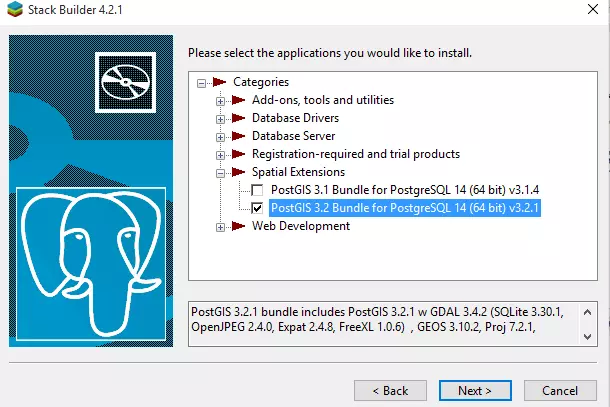
And in the window that follows, open Spatial Extensions and check the version of PostGIS you want to install as shown below:
Stack Builder will then start to download PostGIS. Wait patiently and give it time to finish downloading.
After completing download, click the Next button to continue installation of PostGIS and it will ask you to agree to terms and Click I Agree.

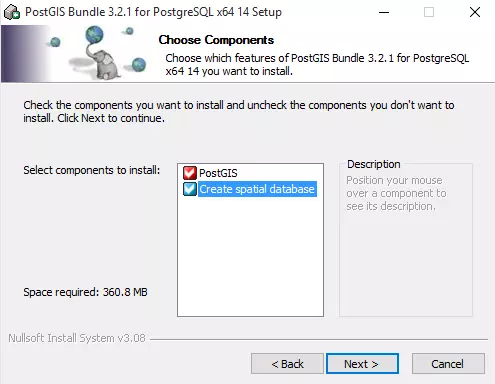
In the next window, check Create Spatial Database to install PostGIS with sample spatial data schema.
Then keep on following the wizard by clicking Next, and enter your password (The password you created while installing the PostgreSQL database above) when you are asked.

In the next window assign name to the sample database that will be created. In my case it is Mereba_Tech_GIS as shown the figure below.

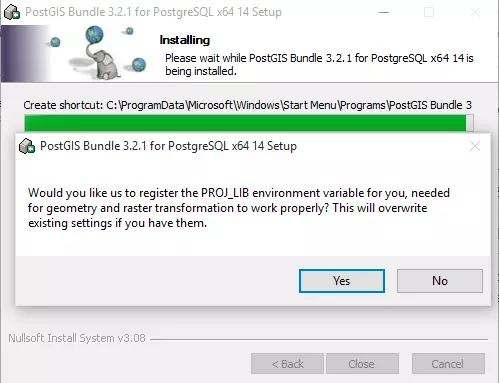
Then click Yes in every pop up window to set Environmental Variables.
Finally, PostGIS installation is completed. Cheers!!

Now let us check if our installation has worked well.
Go to your windows programs and search PgAdmin and click to run it. PGAdmin is another powerful UI tool to manage our database.
And enter your Master Password for PgAdmin as shown below. Remember your PgAdmin password is different from your database. It is advisable if you use the same strong passwords for both so you won’t two passwords to remember….

Then enter the password for your PostgreSQL database you created earlier.
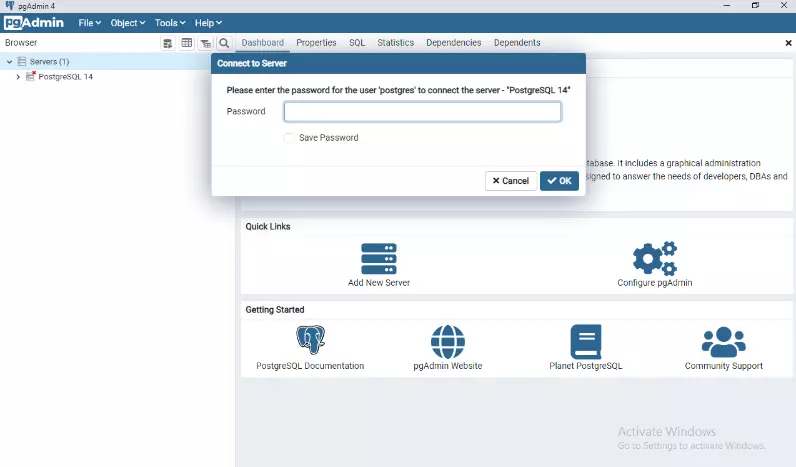
As you can see, our database Mereba_Tech_GIS is created successfully.

That’s all! If you have questions, drop me a line.